Managing spaces
Creating a Space enables you and your team to publish a website that includes your Green Map and other pages too. Your website is hosted by the Green Map Platform. You can create a subdomain to share your site, for example, mymapproject.greenmap.org or, if you pay for a subscription you have the option of connecting your own domain for example www.mywebsite.com.
Creating a space
To add a space to your team, follow these steps:
- Click on the “+” button from the top menu and select
Space. - Enter a name, choose your subdomain, and pick a template if you don’t want to start from scratch.
- Optionally, if you have more than one team, pick the team that you want to own the space.
- If you pick a template, you will also need to select the records that will be used on your new website.
- Press the
Addbutton to create the new space an get redirected to the edit page.
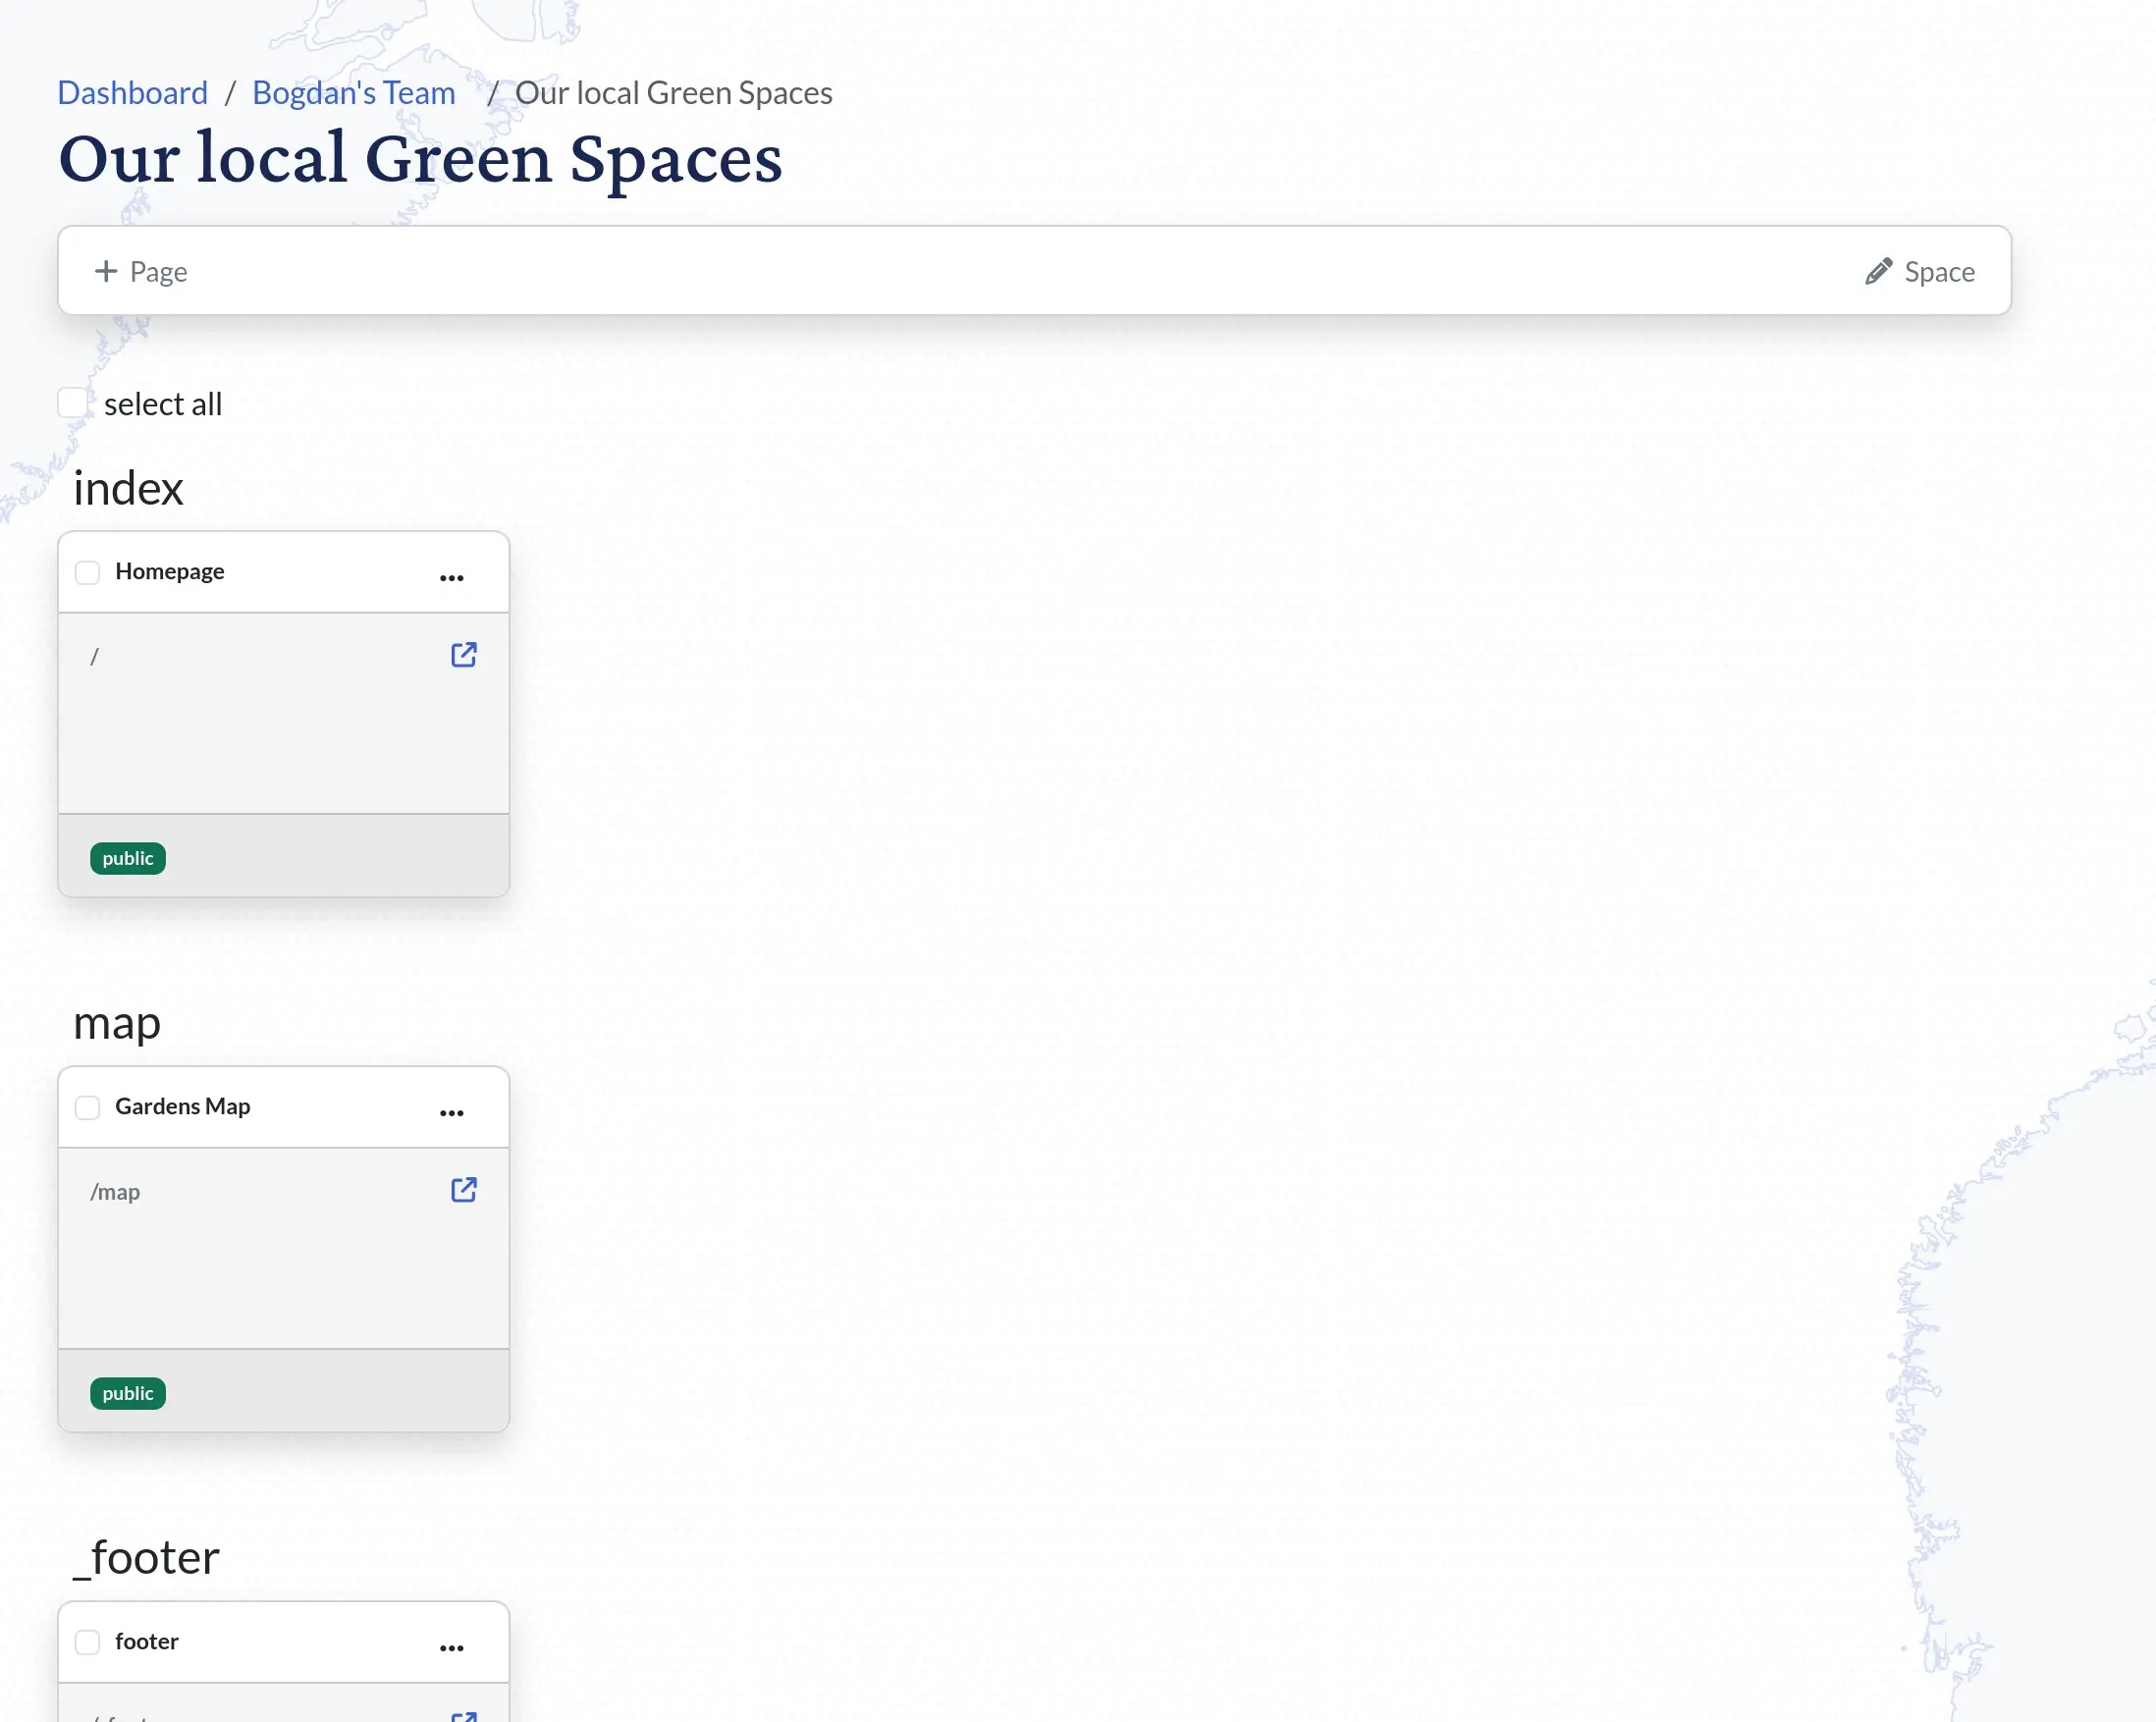
The space dashboard
Spaces have their own dashboard, where you can visualize and manage the features that they offer. To get to a spaces’s dashboard:
- Head to your team dashboard.
- Find the space card you want.
- Click on the space header.
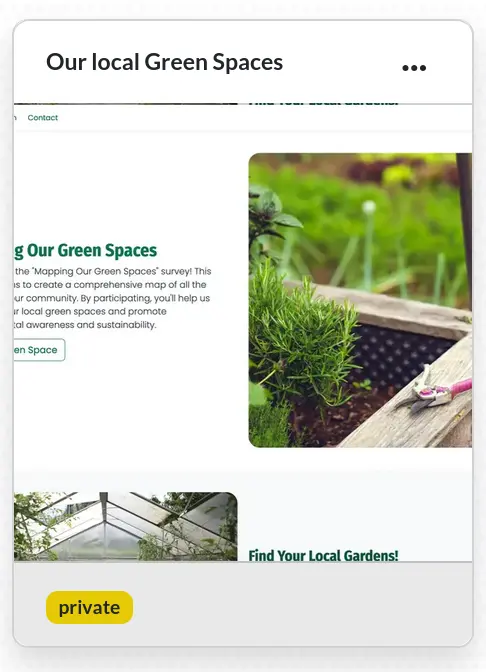
Once you’ve done that, you’ll see something like this:
Editing a space
You can edit a space by pressing the edit button from the space dashboard:
Alternatively, you can also edit a space from the team dashboard, by selecting the edit option on its card.
These options are available only if you have rights to edit the space.
The Edit page has two sections:
- the main edit section, where you edit the name and the description of your space:
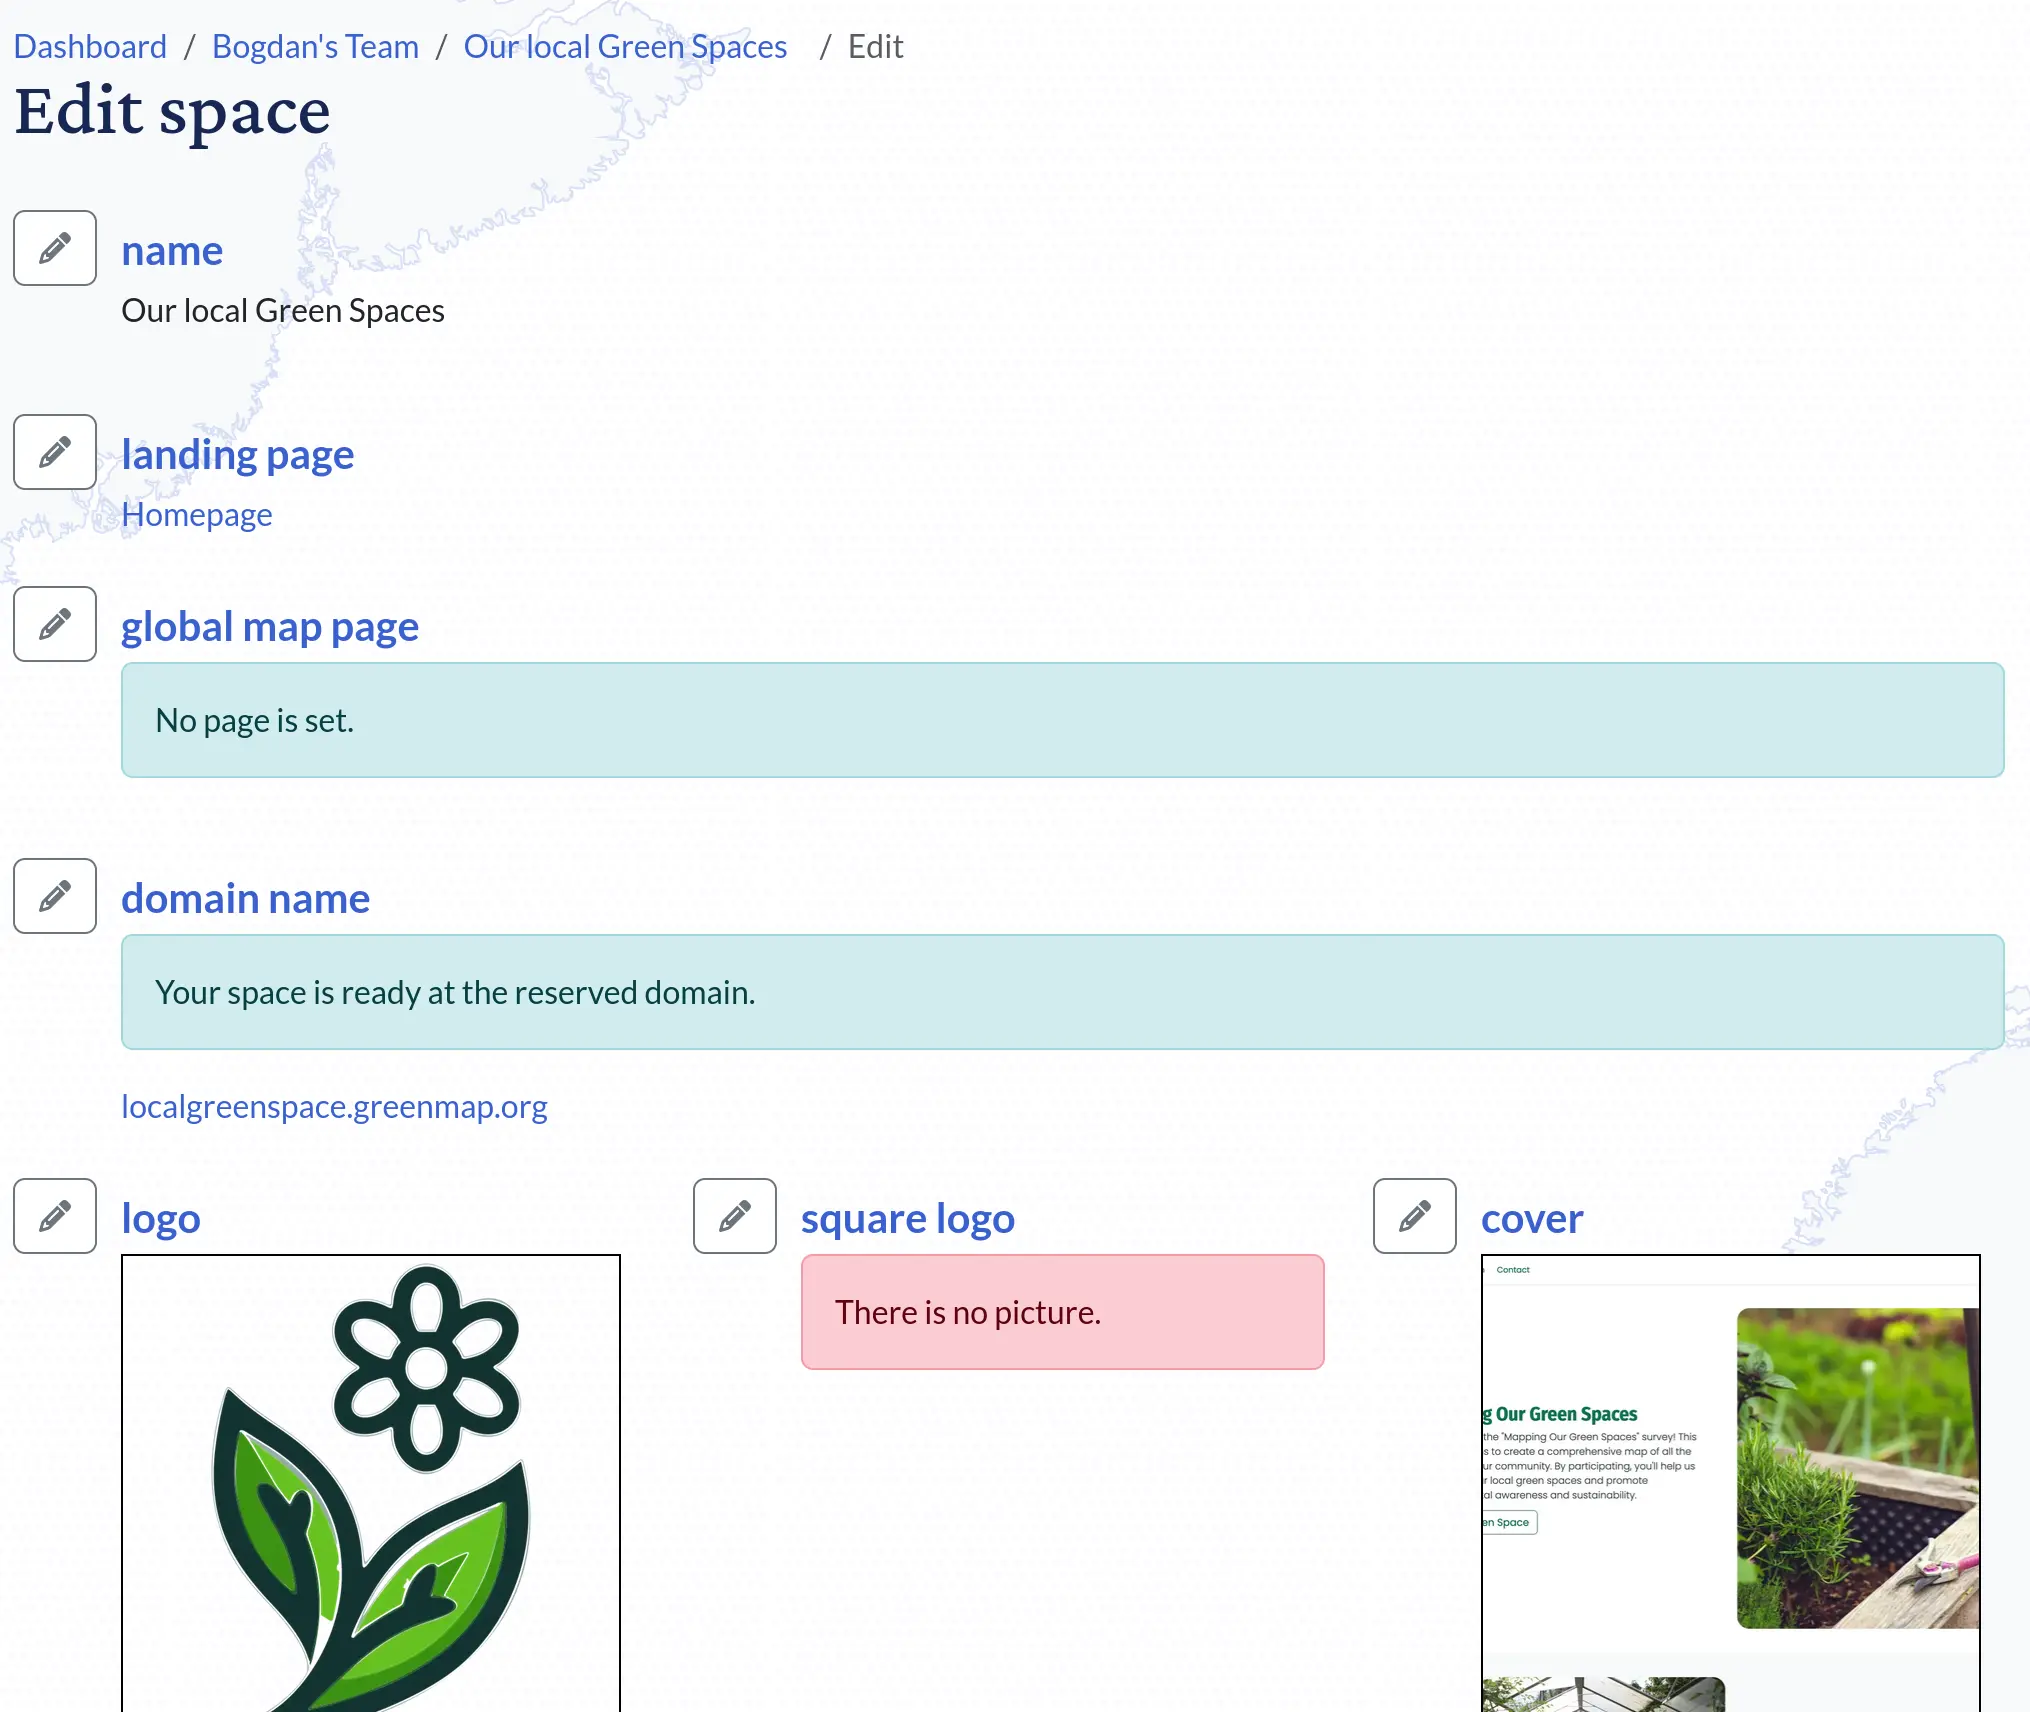
- the sidebar, which allows you to edit the metadata of the space:
To help you to better understand what each field does, here is a list with explanations:
- name is the name of your space.
- description a short description of your space.
- landing page is the welcome page of your space, or the first page that is seen by your visitors.
- domain name is the domain where you access your space. You can set up a subdomain or use your own domain if you have a subscription.
- logo is the logo that appears on your space, usually in the main menu.
- square logo is a square version of your logo, great for displaying on browser tabs.
- cover is the picture that shows up on the space card or on certain loading screens.
- color palette lets you set up the colors for your website, helping you keep a consistent look and feel.
- font styles lets you choose the fonts for your website, helping keep a consistent look and feel.
- default models lets you choose the key records for your space, which is super handy if you need them on multiple pages.
- search options lets you choose which record types can be searched on your site. This is only useful if you have the search option turned on in the menu.
- redirects lets you set up special pages that redirect to existing pages on your site. This is handy for creating permanent global paths.
- attributions lets you add special details to your space, like a copyright message or license info.
- analytics lets you turn on Matomo analytics for your site. If you don’t have access to Matomo, contact us and we can set you up with an account through our subscription.
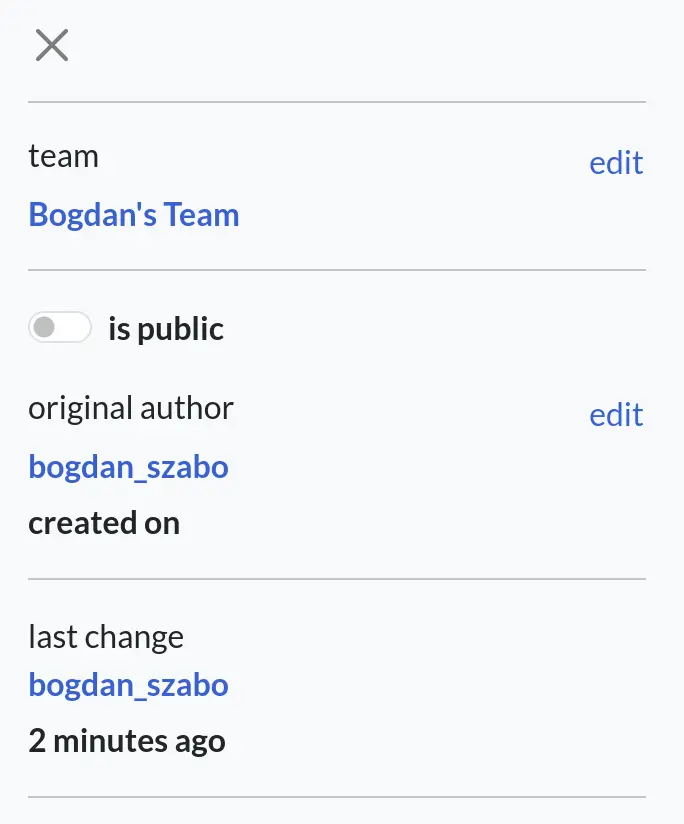
- is public determines who can get access to the space:
- a public space can be seen by everyone
- a private space can be seen only by your team members. In case they are not already logged in on the platform, they will get a login prompt when they access it.
- original author shows who created the space. The user shown on this field can edit the space if they are a team owner.
Deleting a space
A space can be deleted only if you have edit rights to it. This means that you created it, or the space belongs to a team in which you are an owner. To delete a space:
- Navigate to your team dashboard.
- Click on a space card.
- Press the three dots button on a space card to open the context menu:

- Press the
deletebutton. - You will be prompted to confirm the action:

- If you press
Yes, the space will be deleted. Note that you won’t be able to recover it later.