Managing teams
Table of contents
Adding a new user to your team
- Make sure the user exists on our platform. If not, follow the steps from the Create a new account tutorial.
- Navigate to your team dashboard.
- Access the “Manage team” option at the top right corner.

- Add the user’s email in the member’s section and select the role. After you type a few letters, emails matching your letters will be suggested.

- Press the “Add to team” button
Understanding the access roles
On our platform, you can add users who have guest, member, leader, and owner roles. Each role has a different access to the team data. Here is a summary for each role:
Guest - You can only view your tool’s private data. They can only add something for your team. Member - can create, manage and publish their records, but can’t manage some special kinds like maps. Leaders - can create, manage and publish any records owned by the team, but can’t add some particular kinds like maps. Owner - can do anything with the team data.
If you want more details about what each role can do, you can check our access rights documentation
How to enable members to edit their data
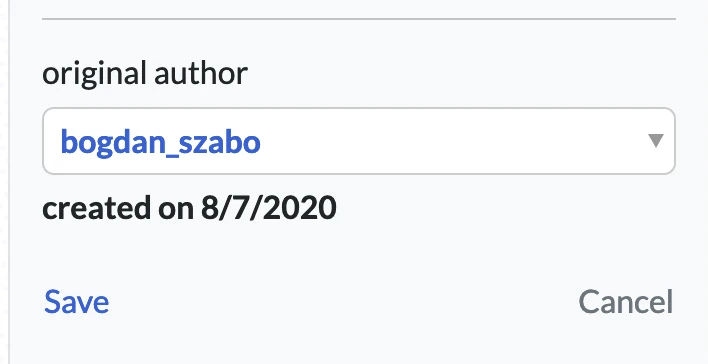
Occasionally, you may need to grant a later-joining team member access to records they didn’t author or allow them to edit records they don’t own. In this case, you need to edit the record and change the “Original author”:
- Go to the edit page of the feature, event or article
- On the right panel, press “edit” on the original author section:

- Click on the select field and search and select the user that you want to own the record.
- Click save