Managing newsletters
Available with a subscription
If you have access to the newsletter feature, you can send periodic messages that share news, updates, and information on a specific topic or interest with your subscribers. If you want this feature to be enabled for your team, please contact us.
Table of contents
- Managing newsletters
- Adding a newsletter
- The newsletter dashboard
- Editing a newsletter
- Editing the newsletter welcome message
- Deleting a newsletter
- Importing emails
- Exporting newsletter data
- Creating a message
- Testing a message
- Sending a message
- Deleting a message
Adding a newsletter
To create a new newsletter, follow these steps:
- Click on the “+” button from the top menu and select
Newsletter. - Fill in the name, a short description, and select the team that owns the Newsletter.
- Press the
Addbutton to create the newsletter an get redirected to its dashboard page.
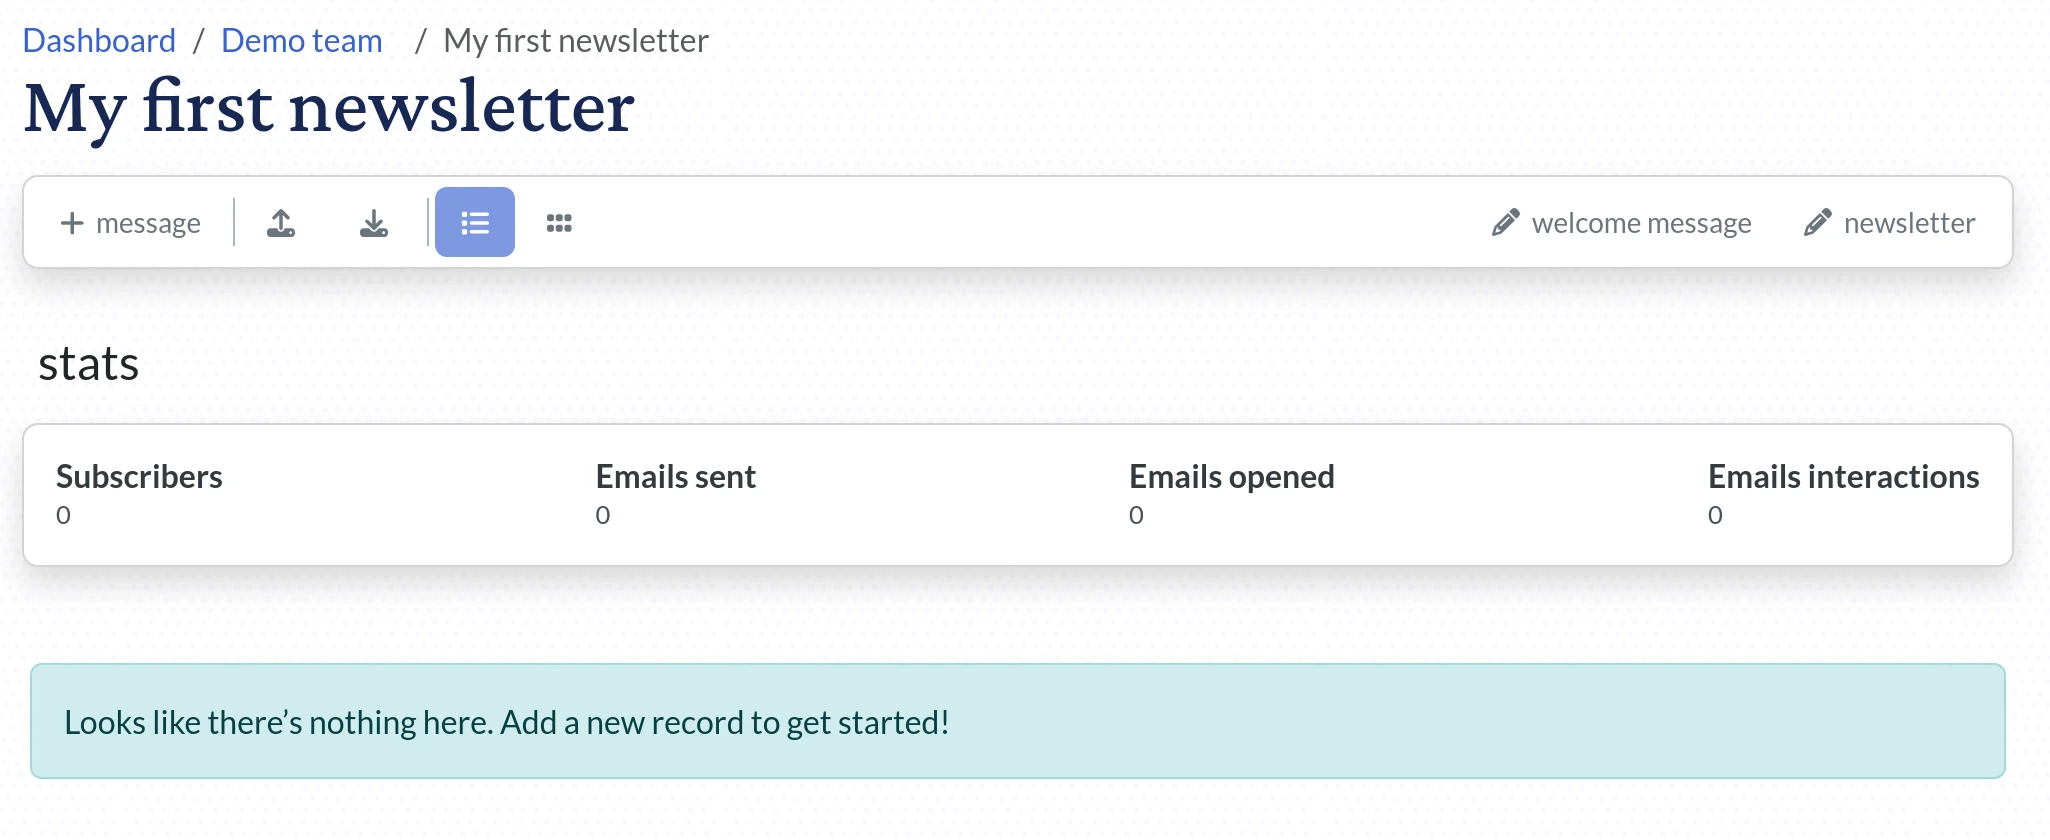
The newsletter dashboard
Newsletters have their own dashboard, where you can visualize and manage the features that they offer. To get to a newsletter’s dashboard:
- Head to your team dashboard.
- Find the newsletter card you want.
- Click on the newsletter header.
Once you’ve done that, you’ll see something like this:
Editing a newsletter
You can edit a newsletter by pressing the edit button from the newsletter dashboard:
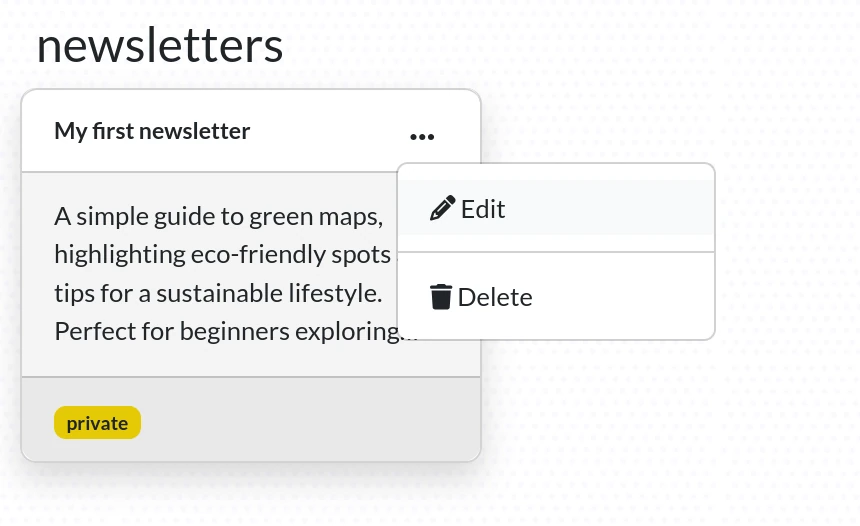
You can also edit a newsletter from the team dashboard by selecting the edit option on its card.
These options are available only if you have rights to edit the newsletter.
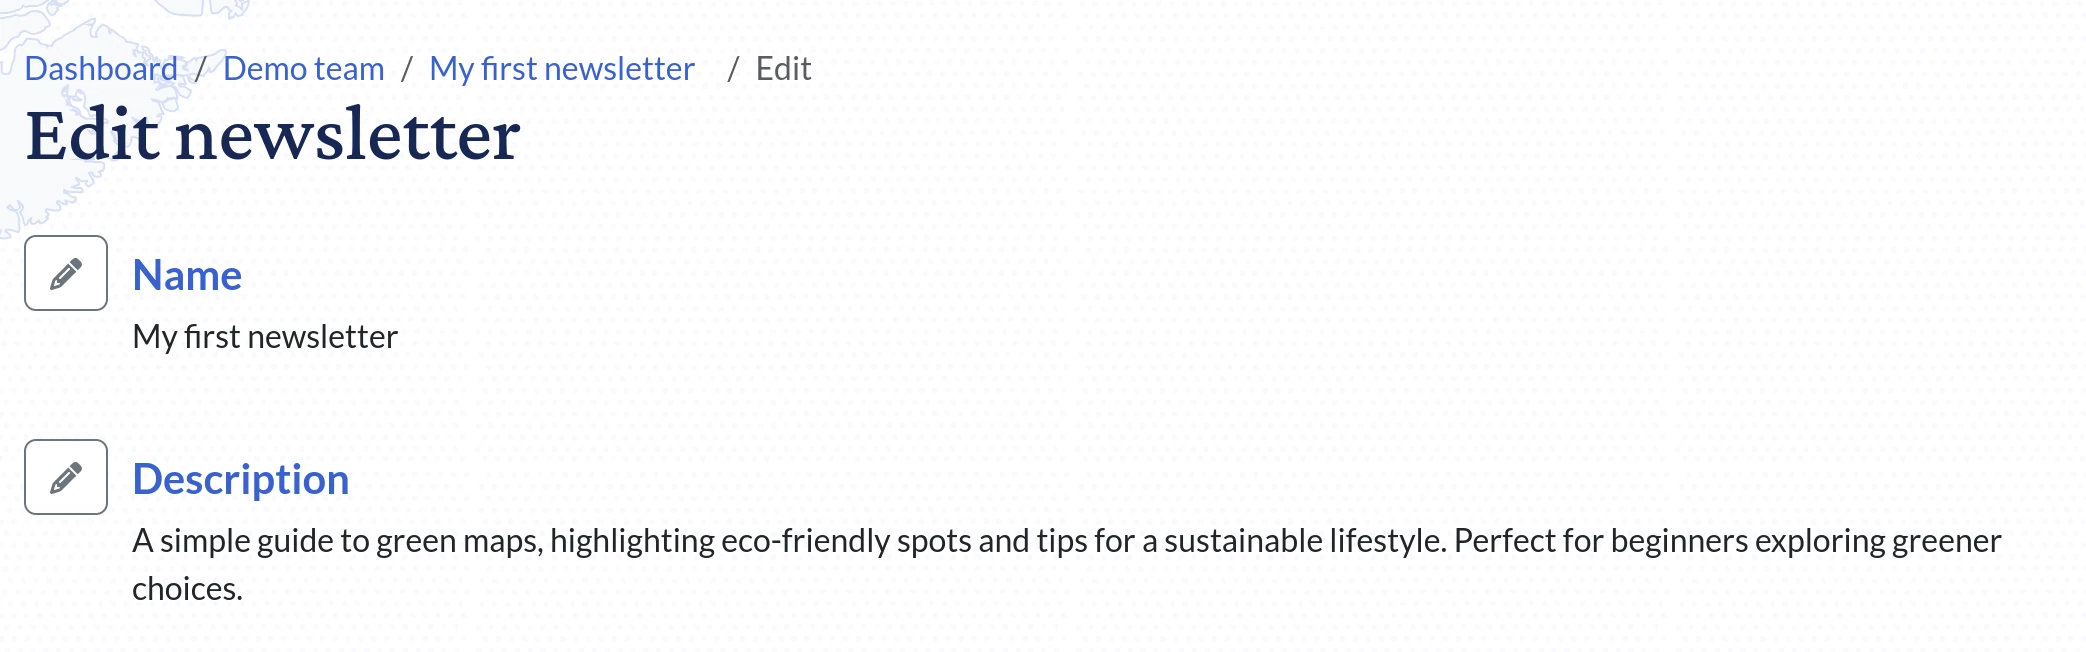
The Edit page has two sections:
- the main edit section, where you edit the name and the description of your newsletter:
- the sidebar which allows you to edit the metadata of the newsletter:

To help you to better understand what each field does, here is a list with explanations:
- name is the name of your newsletter.
- description is a short text that should explain the purpose of the newsletter
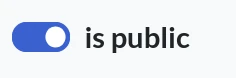
- is public determines who can subscribe to the newsletter:
- to a public newsletter can subscribe anyone
- to a private newsletter, only team members can join or add other subscribers
- original author shows who created the newsletter. The user shown on this field can edit the newsletter if they are a member or a leader.
Editing the newsletter welcome message
Each newsletter comes with a welcome message that gets sent to all new subscribers who sign up through the newsletter section on a website using our platform. Note that this message won’t be sent to emails added via the import option in the newsletter dashboard.
To edit the welcome message press on the edit option in the Welcome email section of the newsletter’s Edit page.
You can also directly open the edit page of the welcome message from your newsletter dashboard:
- Navigate to the newsletter dashboard
- Press the
edit welcome messagebutton from the newsletter toolbar header:
- You will be redirected to the
edit welcome messagepage of the selected newsletter.
To help you to better understand what each field does, here is a list with explanations:
- title and article are the main parts of the email that gets sent out. Feel free to tweak it however you like to include all the info new subscribers need to know.
- subject is the email’s subject line. If you leave it blank, we’ll use a default one. Feel free to change it if you want to!
Deleting a newsletter
In case you don’t want to send any more emails and track your subscribers for the project, you can remove the newsletter.
Note that this will delete all the newsletter messages. If you want to remove a single message sent to your subscribers see the Deleting a message section.
A newsletter can be deleted only if you have edit rights to it. This means that you created it, or the newsletter belongs to a team in which you are an owner. To delete a newsletter:
- Navigate to your team dashboard.
- Press the three dots button on an newsletter card to open the context menu:
- Press the
deletebutton. - You will be prompted to confirm the action:

- If you press
Yes, the newsletter will be deleted.
Note that if you delete a newsletter, you won’t be able to recover it later.
Importing emails
Usually, when you create a new newsletter, you’ll already have a list of subscribers. There are a couple of options to import it.
First, you need to navigate to your newsletter dashboard, and press the import button from the newsletter toolbar:
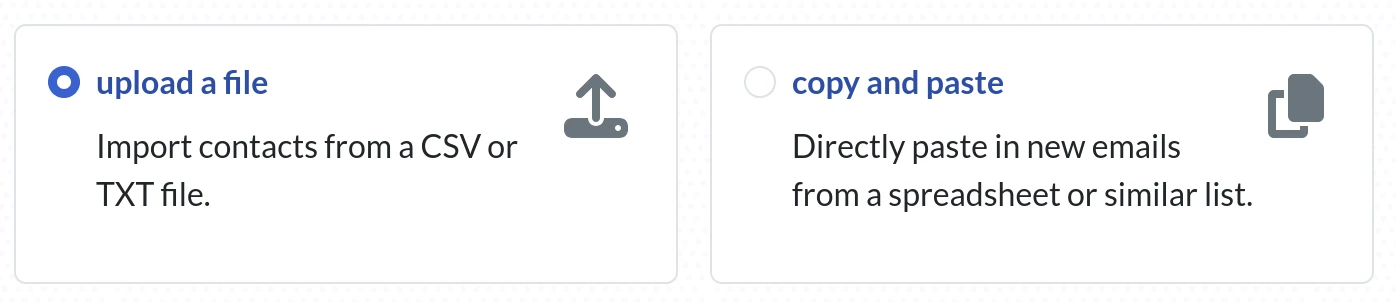
Here you have two options: to import a file, or to paste or type a list of emails:
Importing emails from a file
This option is great for when you’ve got a lot of email addresses to import. The platform can handle different file formats and will pick out just the email addresses, even if there’s other info in the file.
Here are some examples of what your imported file might look like:
a .txt file with each email address listed on a separate line
jane.doe@example.com
john.smith123@example.net
sarah.jones@sample.org
mike.brown45@demo.com
lisa.white@testing.edu
david.clark78@webmail.co
emily.davis@mydomain.biz
chris.lee@randommail.info
kate.martin@myplace.store
tom.woody@samplemail.tv
a .txt file with each email address is separated by a comma
jane.doe@example.com, john.smith123@example.net, sarah.jones@sample.org, mike.brown45@demo.com, lisa.white@testing.edu, david.clark78@webmail.co, emily.davis@mydomain.biz, chris.lee@randommail.info, kate.martin@myplace.store, tom.woody@samplemail.tv
a .txt file with each email address is separated by a space
jane.doe@example.com
john.smith123@example.net
sarah.jones@sample.org
mike.brown45@demo.com
lisa.white@testing.edu
david.clark78@webmail.co
emily.davis@mydomain.biz
chris.lee@randommail.info
kate.martin@myplace.store
tom.woody@samplemail.tv
a .csv file containg user information including the email address
| First Name | Last Name | Email Address | Phone Number | Date of Birth |
|---|---|---|---|---|
| Jane | Doe | jane.doe@example.com | 555-1234 | 1985-03-22 |
| John | Smith | john.smith123@example.net | 555-5678 | 1990-07-15 |
| Sarah | Jones | sarah.jones@sample.org | 555-8765 | 1982-11-30 |
| Mike | Brown | mike.brown45@demo.com | 555-4321 | 1979-06-09 |
| Lisa | White | lisa.white@testing.edu | 555-6789 | 1993-02-19 |
| David | Clark | david.clark78@webmail.co | 555-1357 | 1988-08-23 |
| Emily | Davis | emily.davis@mydomain.biz | 555-2468 | 1991-04-04 |
| Chris | Lee | chris.lee@randommail.info | 555-3579 | 1987-12-11 |
| Kate | Martin | kate.martin@myplace.st | 555-4680 | 1995-09-30 |
| Tom | Woody | tom.woody@samplemail.tv | 555-5791 | 1983-01-05 |
when a
.csvfile contains more than emails, the platform will only import the email address and ignore the other information.
If a
.csvfile contains more than one email on a row, both emails will be imported as separate entries
To import the file you need to:
- Select the
upload a fileoption: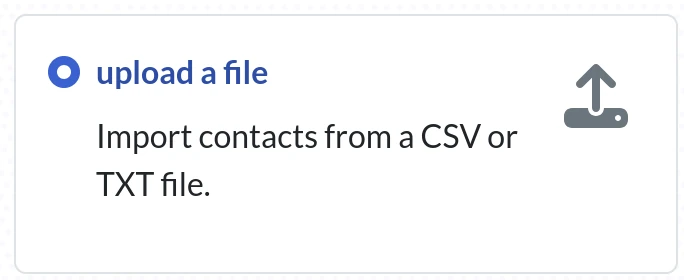
- Select a file by pressing the file selector

- Optionaly, you can click the
replace existing emailsto replace the existing emails with the ones from the new file:
- Press the
Importbutton - You’ll be taken to the newsletter dashboard, where you can check out the updated
subscribersstats, now including the emails from your imported file.
Importing emails by copy/paste or by typing
This option is perfect for quickly adding a short list of emails—or even just one. It’s super easy, and you don’t need to stress about how you format it. You can separate emails with new lines, spaces, commas, or semicolons. Any words that aren’t recognized as email addresses will just be ignored.
Here are some examples of what your imported file might look like:
each email address listed on a separate line
jane.doe@example.com
john.smith123@example.net
sarah.jones@sample.org
mike.brown45@demo.com
lisa.white@testing.edu
david.clark78@webmail.co
emily.davis@mydomain.biz
chris.lee@randommail.info
kate.martin@myplace.store
tom.woody@samplemail.tv
each email address is separated by a comma
jane.doe@example.com, john.smith123@example.net, sarah.jones@sample.org, mike.brown45@demo.com, lisa.white@testing.edu, david.clark78@webmail.co, emily.davis@mydomain.biz, chris.lee@randommail.info, kate.martin@myplace.store, tom.woody@samplemail.tv
each email address is separated by a space
jane.doe@example.com john.smith123@example.net sarah.jones@sample.org mike.brown45@demo.com lisa.white@testing.edu david.clark78@webmail.co emily.davis@mydomain.biz chris.lee@randommail.info kate.martin@myplace.store tom.woody@samplemail.tv
To import the emails this way you need to:
- Select the
copy and pasteoption: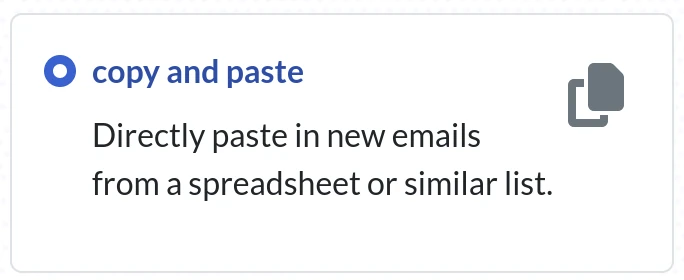
- Paste the email list in the text area:
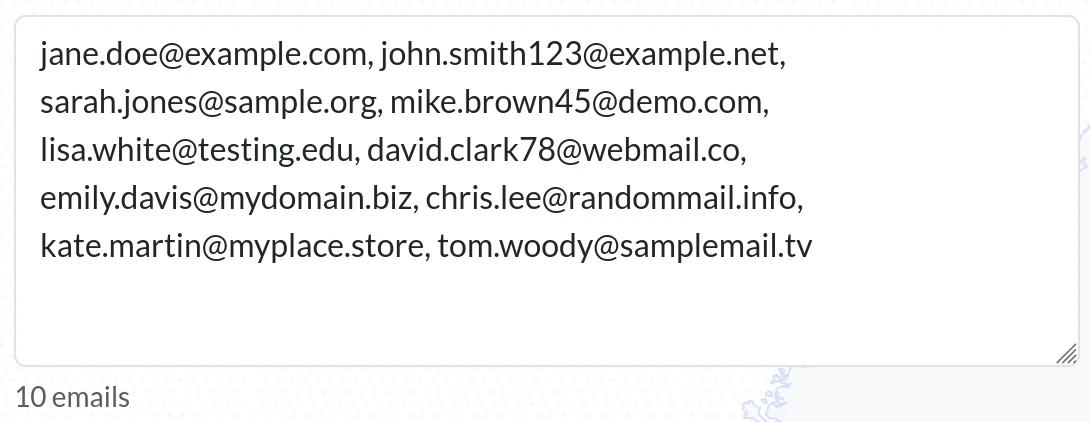
Check out the label below the text area—it shows you how many emails are going to be imported. - Optionaly, you can click the
replace existing emailsto replace the existing emails with the ones from the new file: - Press the
Importbutton - You’ll be taken to the newsletter dashboard, where you can check out the updated
subscribersstats, now including the emails from your imported file.
Exporting newsletter data
If you want to check out your email list and see some stats, you can export this data as a CSV file. Here’s an example of how the file might look like:
| Email Address | Date Added | Read Messages | Links Opened |
|---|---|---|---|
| jane.doe@example.com | 2024-08-14T21:33:25Z | 5 | 2 |
| john.smith123@example.net | 2024-08-14T21:33:25Z | 3 | 1 |
| sarah.jones@sample.org | 2024-08-14T21:33:25Z | 8 | 4 |
| mike.brown45@demo.com | 2024-08-14T21:33:25Z | 1 | 0 |
| lisa.white@testing.edu | 2024-08-14T21:33:25Z | 7 | 3 |
| david.clark78@webmail.co | 2024-08-14T21:33:25Z | 2 | 5 |
| emily.davis@mydomain.biz | 2024-08-14T21:33:25Z | 4 | 2 |
| chris.lee@randommail.info | 2024-08-14T21:33:25Z | 6 | 1 |
| kate.martin@myplace.store | 2024-08-14T21:33:25Z | 0 | 0 |
| tom.woody@samplemail.tv | 2024-08-14T21:33:25Z | 9 | 7 |
To download the .csv file, you need to:
- Navigate to your newsletter dashboard page
- Press the download button from the newsletter toolbar:

Tip
You can download the .csv file and edit it with your favorite spreadsheet application for a familiar editing experience. After making your changes—whether adding or removing emails—import the file again using the replace existing emails option to update your list efficiently.
Creating a message
To craft a new message for your subscribers, here’s what you need to do:
- Navigate to the newsletter dashboard
- Click on the “new message” button:
- On the new message page, fill in the:
- Message: the email content that’ll be sent out.
- Subject: the subject line that’ll be sent out.
- Release date: the date when the message will go out. It will only be sent if it’s set to be public at that time.
- Press the “Add” button.
Testing a message
After creating your message, the next step is to test it by sending it to the email inbox linked to your account:
- Navigate to the newsletter dashboard
- Identify the record that you want to delete and press the three dots button:
- Press the
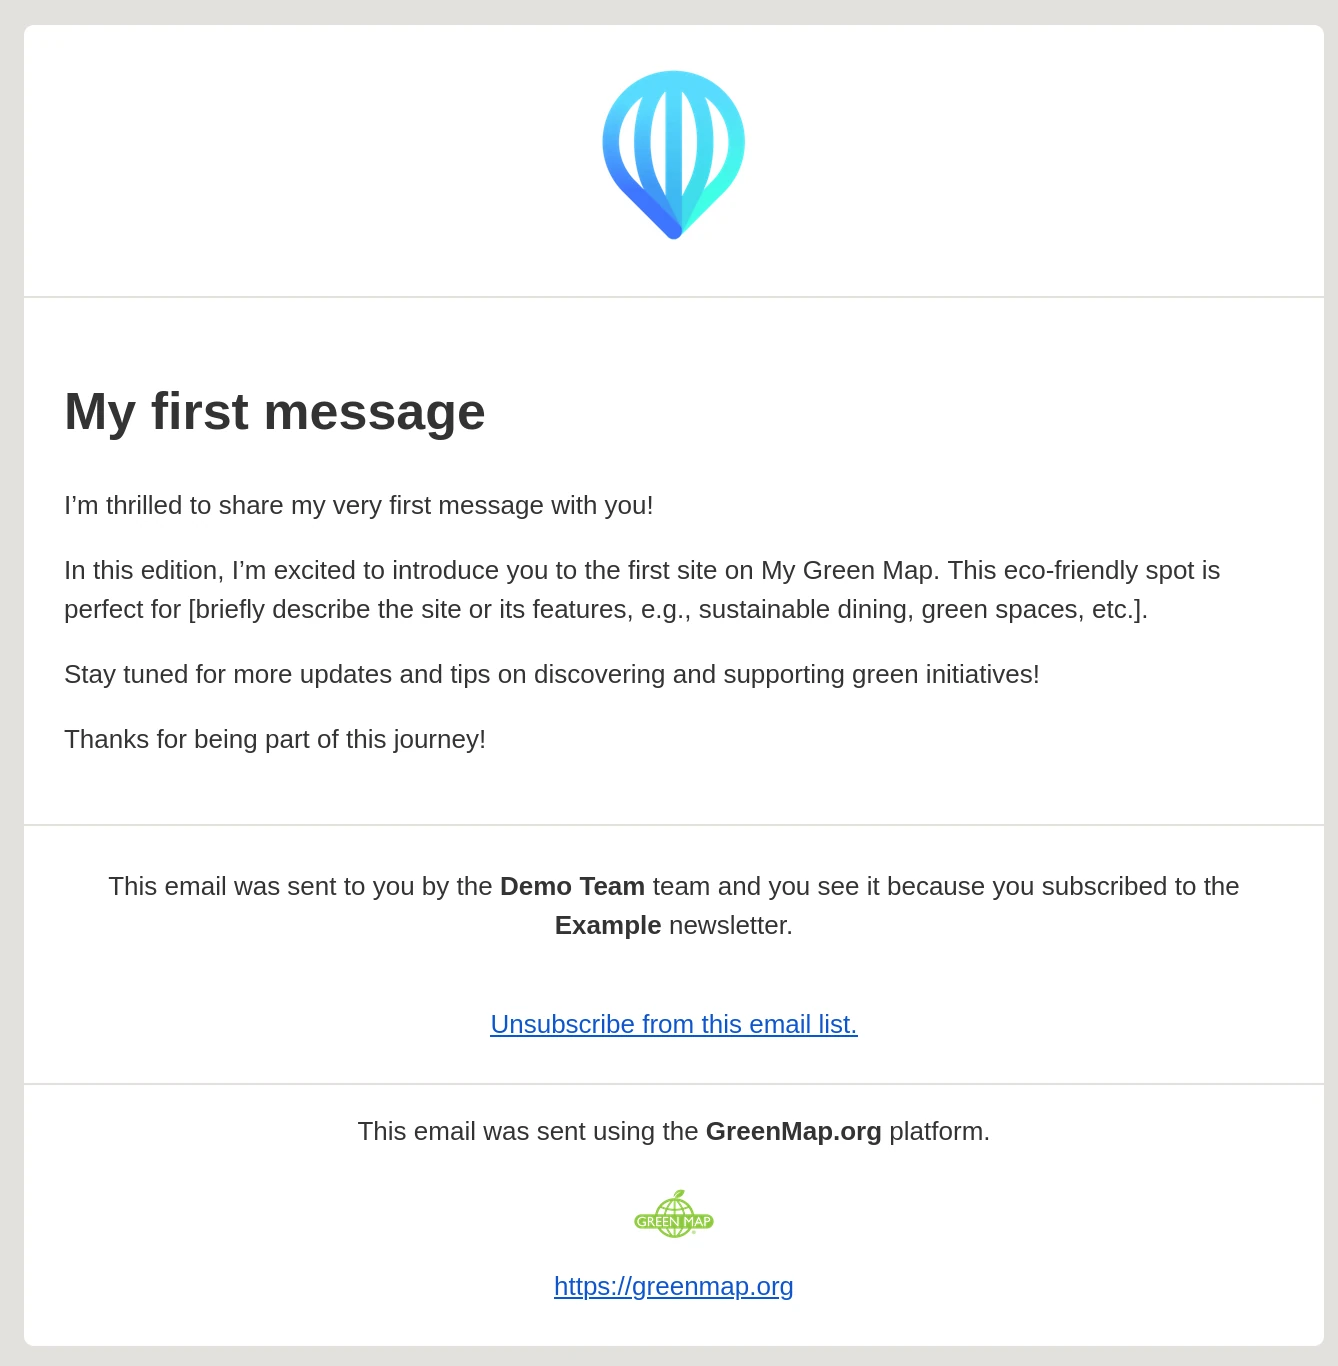
Send test emailoption - Wait for the message in your inbox. Here is an example on how it might look like:
Tip
Testing messages helps you catch mistakes. Plus, reviewing emails in your inbox shows you exactly what your recipients will see, making it easier to figure out what to adjust for clearer communication. It’s like trying on clothes before a big night out—better to spot the wardrobe malfunction now than have everyone see it later!
The email you got has 4 parts. Here’s a quick guide on how to tweak them:
| 1. The team logo can be changed by editing your team. See more details here |
|---|
| 2. The message is defined in the Creating a message step in this document |
| 3. The newsletter information section tells recipients why they received the email and how they can unsubscribe if they wish. This part can’t be customized and is included to prevent the email service from marking your message as spam. |
| 4. The platform information shows where the message was sent from. This part can’t be customized. |
Tip
If you click the
Unsubscribe from this email listlink and end up on a 404 page, it means the newsletter is currently private. The unsubscribe page will be available once the newsletter is published.
If you’re interested in a custom template or want extra features for your newsletter, just reach out to us! Our design and development team is here to help with tailored solutions.
Sending a message
First, make sure your message is ready to go. To do this, publish the message and set the delivery date:
- Navigate to the newsletter dashboard
- Find the record you want to send, then click on its title or the edit button:
- On the right side of the page, make sure to set the message to public by turning on the toggle:
- Find the release date section and press the pencil icon to set a value:

- Choose a new date, hour, and minute for when you want the message to be delivered and press
save.
When you’re ready to send your message, you have two options. First, you can schedule it to be sent on a specified date:
- Navigate to the newsletter dashboard
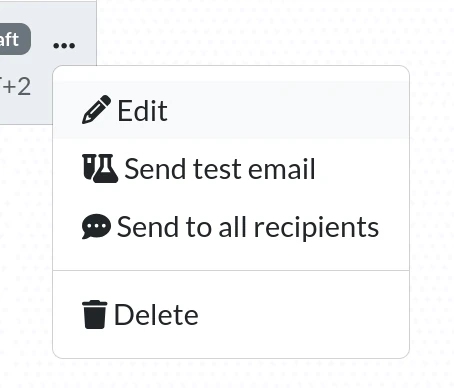
- Find the record you want to send, then click on the three dots button:
- Select the
Send to all recipientsoption and you’ll get a pop-up asking you to confirm the action: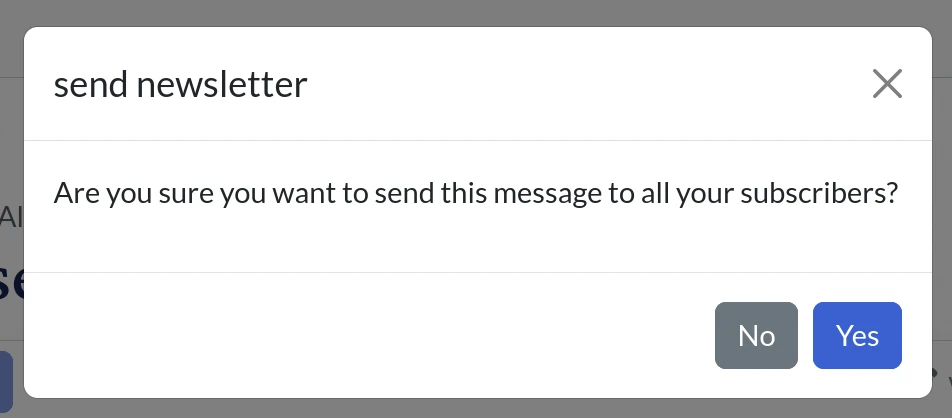
- If you press
Yes, the message will be sent to everyone in your list.
The second option is to send the message right away. To do this, follow these extra steps:
- Click again on the three dots button and notice the new options:

- Select the
Publish nowoption and wait for the message to be delivered.
If you’ve got a big email list, it might take a few minutes to send the message to everyone. Just kick back and relax—after all, good things come to those who wait, just like that pizza delivery you’ve been craving!
Deleting a message
Deleting a message is pretty straightforward, just like deleting any other record on our platform:
- Navigate to the newsletter dashboard
- Identify the record that you want to delete and press the three dots button:
- Choose the
deleteoption, and you’ll get a pop-up asking you to confirm the action: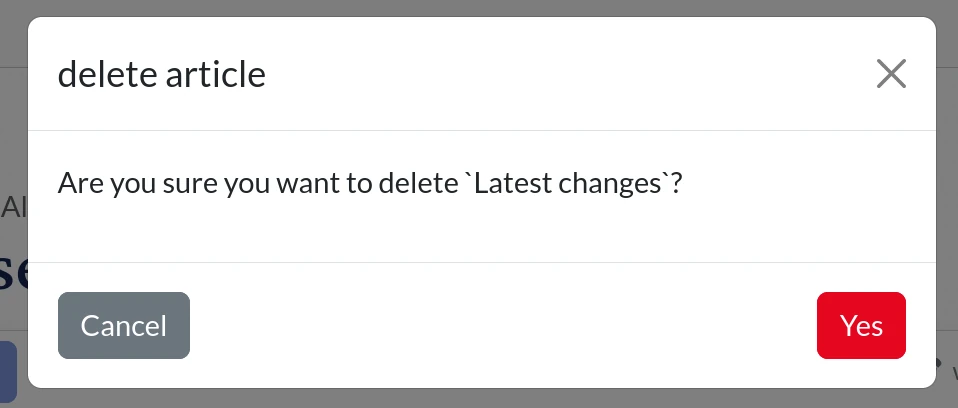
- If you press
Yes, the message will be deleted.
Note that if you delete a message, you won’t be able to recover it later.
If you delete a message while it’s being sent to your subscribers list, there’s a good chance it will still get delivered to them. If you want to ensure it will not be sent, make sure to delete it before the date and time when it was scheduled to be sent out.