Managing events
Available with a subscription
If you have a access to the calendar feature, you can also add events. If you want this feature to be enabled for your team, please contact us.
Table of contents
Adding an event
To create a new event, follow these steps:
- Navigate to your team dashboard.
- Select a calendar to add the event to by clicking on a calendar card.
- Then click on the “+ Event” button positioned in the top right corner.

- Fill in the name and the description in the about field.
- If you want to change the calendar the event is added to, you can select it from the calendar field.
- If the calendar has icons sets associated to it, you can select one or more icons for the event. Make the selection by pressing the select icons button:
![]()
- Add one or more dates for your event by pressing the + event button:
- Optionally, select a cover image by pressing on the gray cover placeholder:

- Set a location for your event. If the calendar has a map associated to it, you will receive suggestions with locations on your map. Alternatively, you can just type a location, e.g. an address. Note that in the latter case the event won’t be associated to a map.
- Press the “Add” button to save the event and to get redirected to the edit page.
Editing an event
After creating an event, you are redirected to the edit page of that event. You can also edit an event by:
- Navigating to the event list from your dashboard by pressing a calendar card, and then selecting the edit option on an event card that you want to edit.
- Selecting the edit option on an event title from the website.
These options are available only if you have rights to edit the event.
The Edit page has two sections:
the main edit section, where you edit the content of your event:
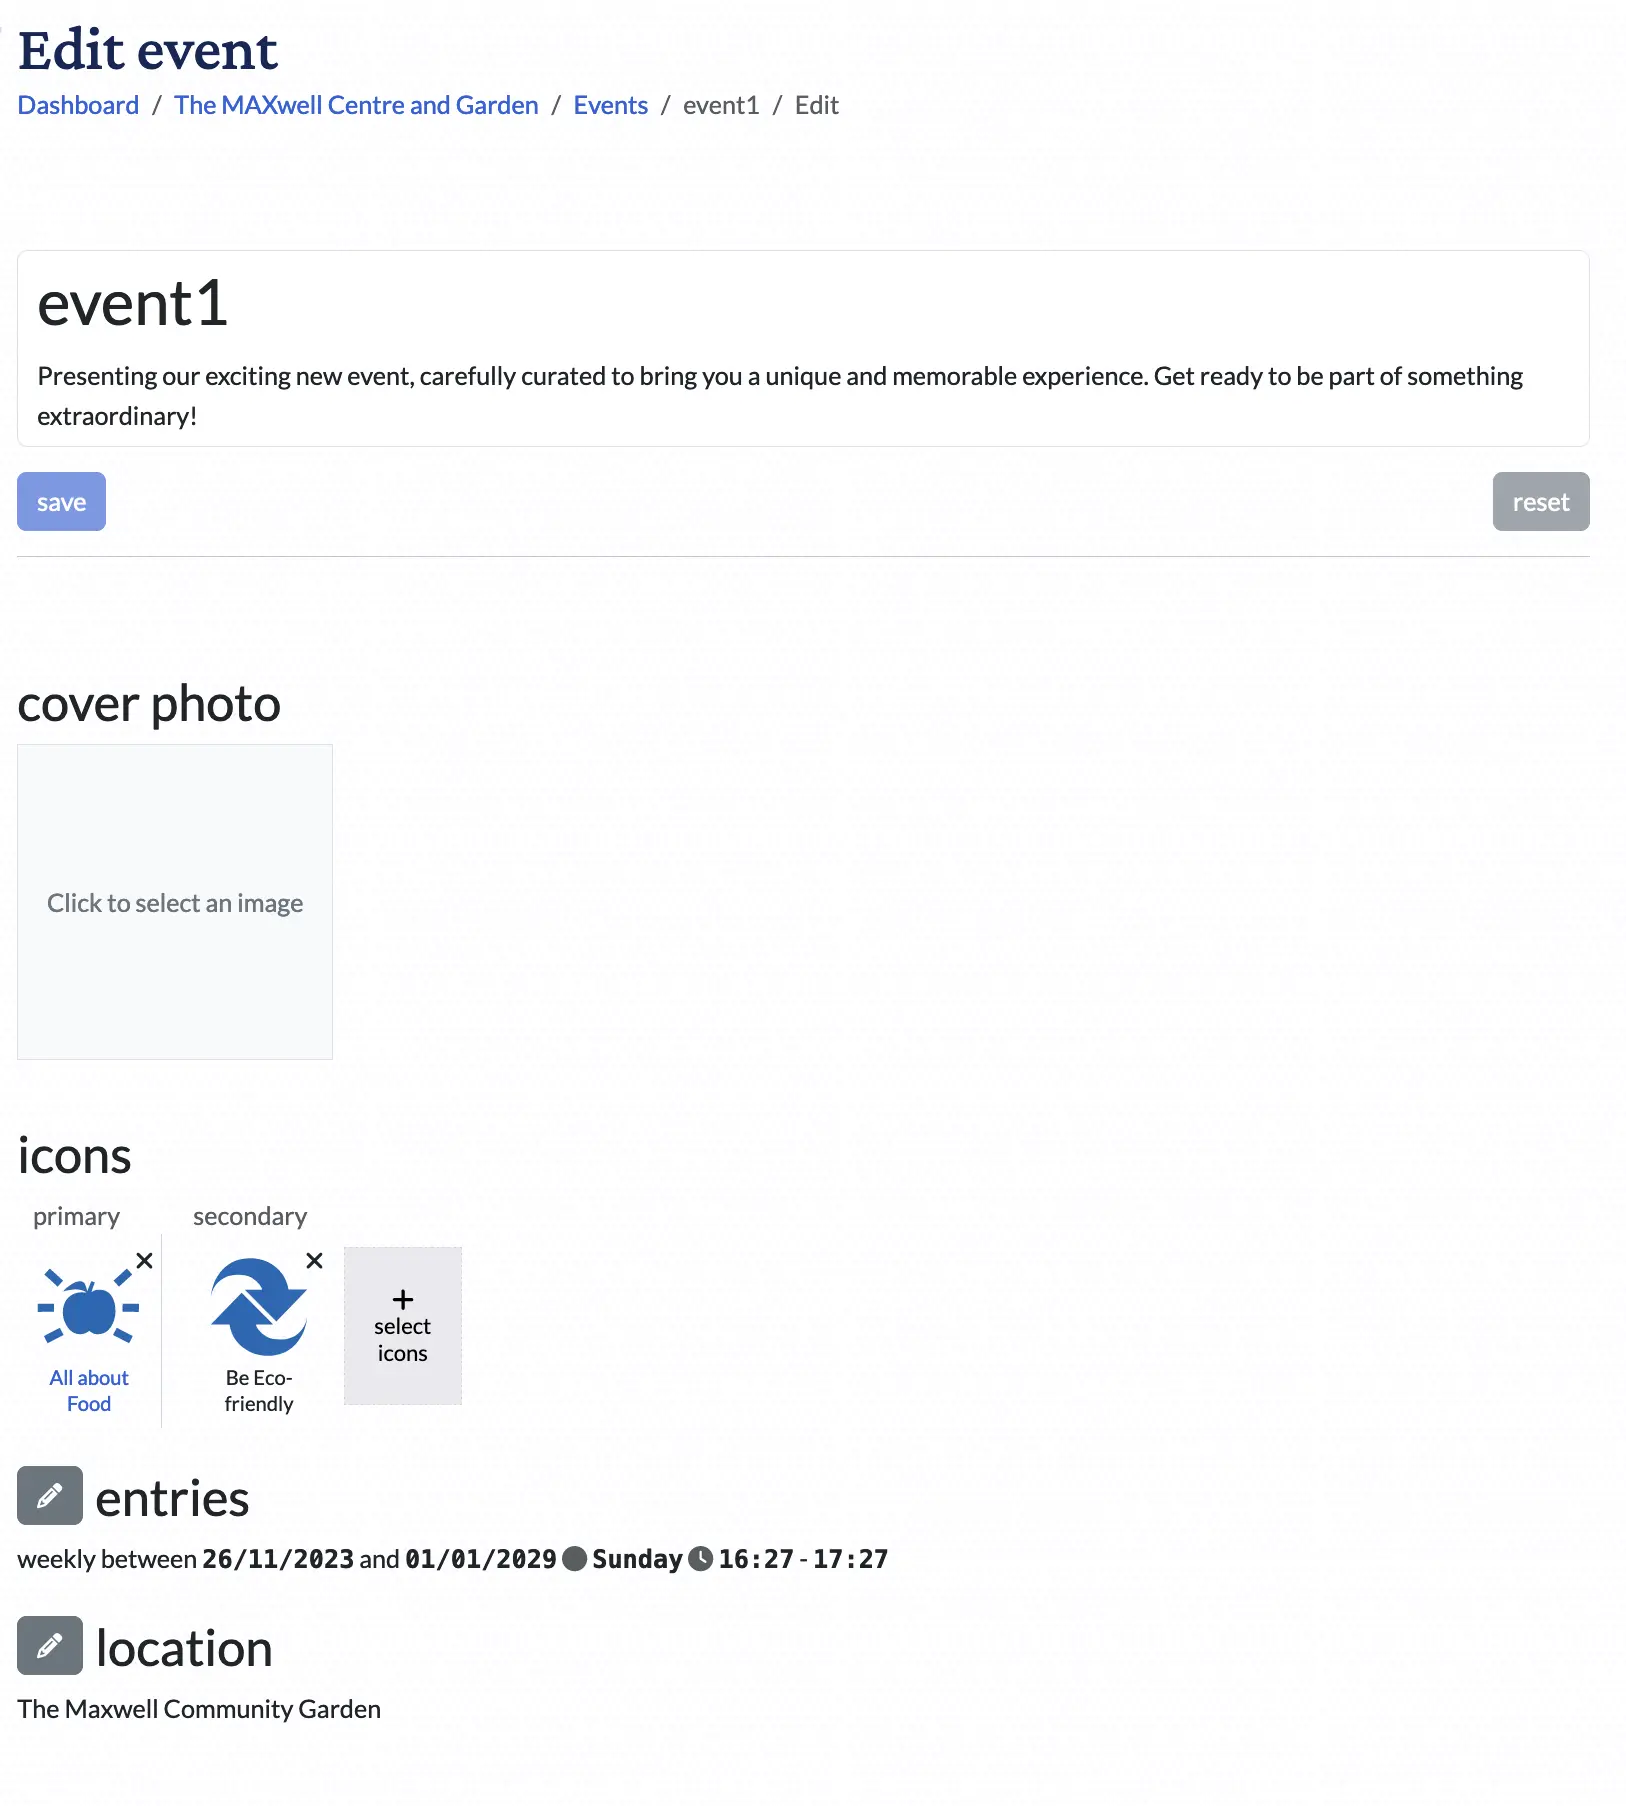
the sidebar which allows you to edit the metadata of the event
To edit a field from one section you need to press the edit button. In the main section it is represented by a pencil button  , and on the sidebar by an edit text
  .
.
To help you to better understand what each field does, here is a list with explanations:
- The main article is the article that will be shown on the website.
- cover is the main picture that based on your website design, will be shown on a card list on an event page.
- icons are the icons associated to the event. This is only available if the calendar has icon sets.
- entries allow you to select dates and times for your event.
- location is a text or a map location(if the calendar has a map) for the event.
- is public determines if the event can be seen by unauthenticated users or ones that are not part of the team.
- original author shows who created the event. The user shown on this field can edit the event if they are a member or a leader.
Deleting an event
An event can be deleted only if you have edit rights to it. This means that you created it, or the event belongs to a team in which you are an owner. To delete an event:
- Navigate to your calendar dashboard.
- Click on a event card.
- Press the three dots button on an event card to open the context menu:
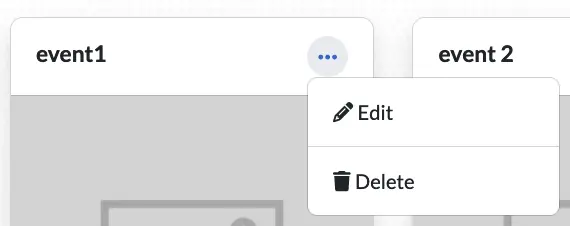
- Press the
deletebutton. - You will be prompted to confirm the action:
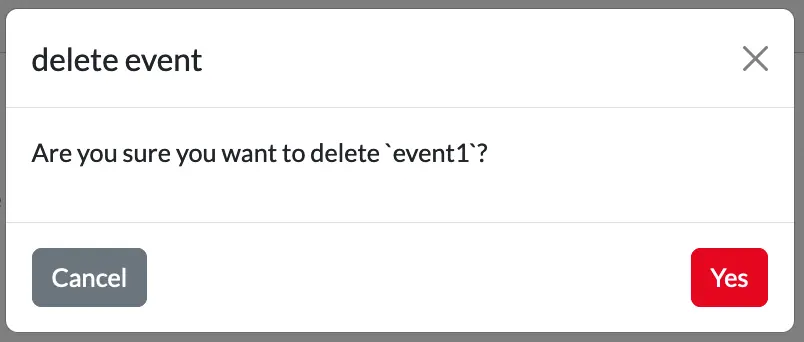
- If you press
Yes, the event will be deleted. Note that you won’t be able to recover it later.