Managing calendars
Available with a subscription
With access to the calendar feature, you can organize and manage events, schedule project phases, or spotlight noteworthy activities on your map. If you want this feature to be enabled for your team, please contact us.
Table of contents
Adding a calendar
To create a new calendar, follow these steps:
- Navigate to your team dashboard.
- Then click on the “+” button from the dashboard menu:
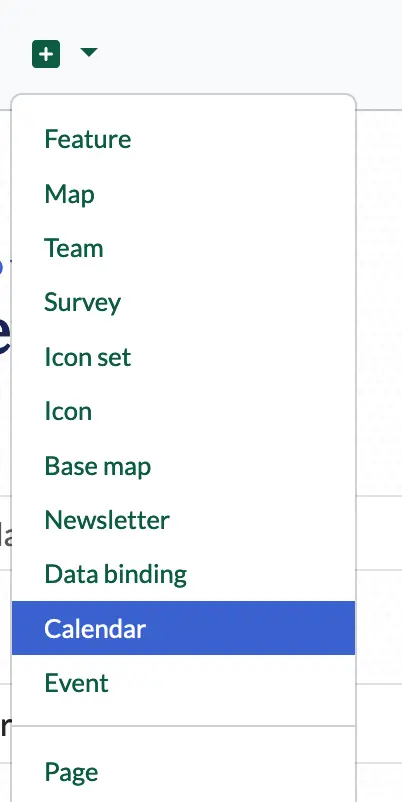
- Fill in the calendar name and description
- Set the calendar type. This field determines how the calendar will be used by your team:
- The events option allows you to schedule either one-time or recurring events, similar to the calendar systems you’re already familiar with.
- The schedules option lets you set up timetables for shops, markets, or recurring volunteer opportunities.
- Optionally, if you have access to multiple teams that can create calendars, choose the team that will own the calendar.
- Press Add and you will be redirected to the edit page of the newly created calendar.
Editing a calendar
After creating a calendar, you are redirected to the edit page of that calendar. You can also edit a calendar by:
- Navigating to your team dashboard
- Find the calendar record that you want to edit, and press the 3 dots button to open the options:
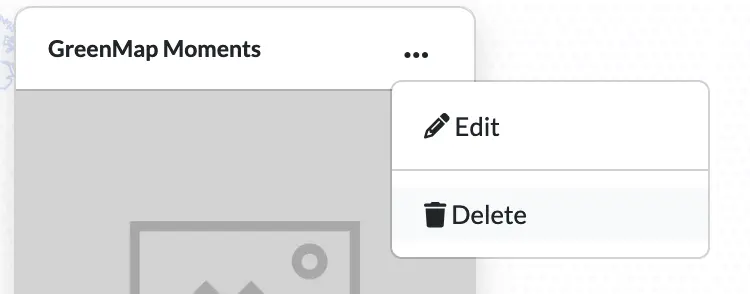
- Select the Edit options
– or –
- Navigating to your team dashboard
- Find the calendar record that you want to edit, and click the card title to open the calendar dashboard
- Click on the Edit option from the calendar dashboard menu:

These options are available only if you have rights to edit the event.
The Edit page has two sections:
the main edit section, where you edit the content of your event:

the sidebar which allows you to edit the metadata of the event
To edit a field from one section you need to press the edit button. In the main section it is represented by a pencil button  , and on the sidebar by an edit text
  .
.
To help you to better understand what each field does, here is a list with explanations:
- The main article is the article that will be shown on the website.
- cover is the main picture that based on your website design, will be shown on a card list on an event page.
- map specifies which map the calendar events will use to choose locations.
- icon sets specifies which icons can be selected for your events.
- attributes allows you to define extra structured data for your events.
- record name by default, event descriptions will use the word “event”. For a more personalized experience for your community, you can customize this text with a term like “volunteering opportunity.”
Deleting a calendar
A calendar can be deleted only if you have edit rights to it. This means that you created it, or the calendar belongs to a team in which you are an owner. To delete a calendar:
- Navigate to your team dashboard.
- Press the three dots button on a calendar record to open the context menu:
- Press the
deletebutton. - You will be prompted to confirm the action:
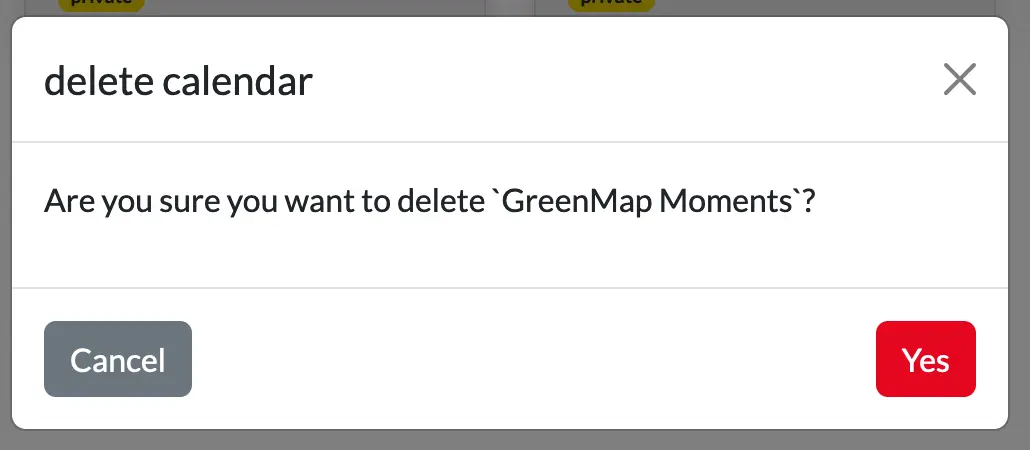
- If you press
Yes, the calendar will be deleted. Note that you won’t be able to recover it later.