Set up a Campaign
Here is how you can create a Campaign in 6 steps.
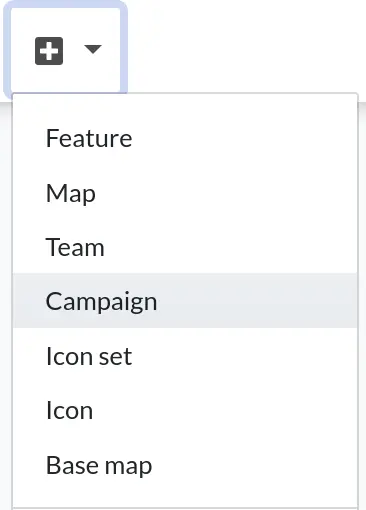
Step 1
From the Menu, access the Campaign setup page from + -> Campaign and fill in some basic information: set the name, and write a concise article that explains the motivation of the project, why people should suggest a place for the Green Map, and how their perspective and contribution of knowledge is valued. This article will serve as the description of the survey you are creating. Lastly, select the team that owns the survey.
Step 2
Adding an attractive image as the cover photo gives the Campaign a more personal touch. Portrait (not landscape) image format is preferred.
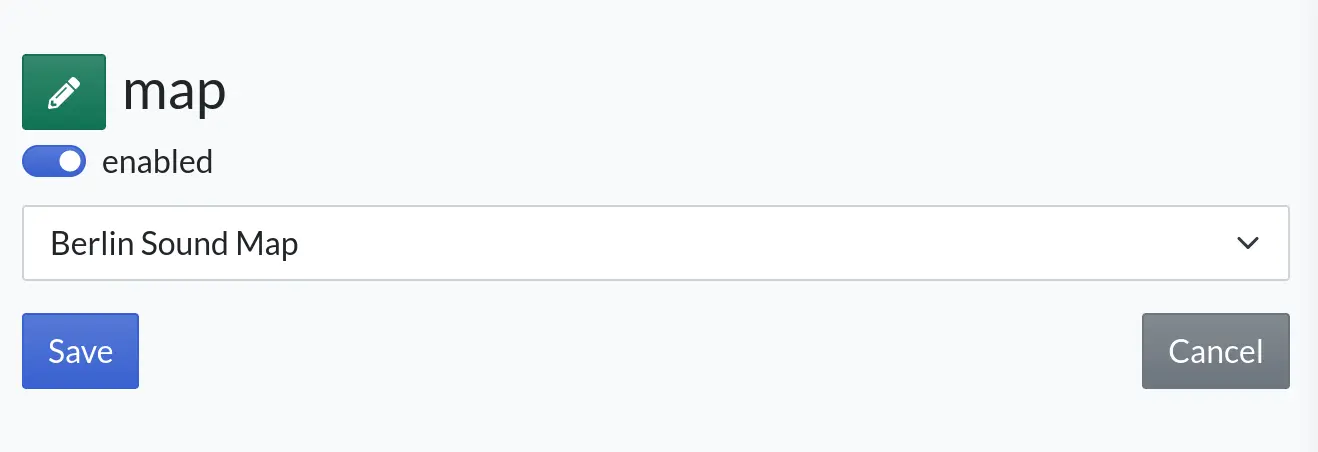
Step 3
Select and save the map to be associated with the Campaign.
Step 4
Next it’s time to choose the icons. The default icons are automatically added to each suggested site.
You can also choose some optional icons that will appear in the order selected by the submitter.
For example, if you want to collect data on old trees, you can create and add an Old Tree icon. Select it as default, so that all the sites will have this icon and the attributes that come with it(such as type of tree).
![]()
As for the optional ones, contributors can choose whether to add any of them or none. For the tree data scenario, these optional icons could be ones that could tell you more about the site, like what context or habitat the tree is located in. You can add as many icons as you like, but consider your participants and their capacity as you set up the icon options they can choose from. The optional icons are added from the questions section of the Campaign. If you want you can also set a custom question that will guide submitters to choose optional icons.
![]()
Step 5
There are some advanced settings you can use to customize the data, questions, and visibility of the Campaign:
If you don’t require a name field for the site contributions, each entry will automatically get an id number. You can set a prefix for that id in the panel on the right, at the top of the edit page. This way browsing through data on the map will be easier. For the old trees campaign example, since it is not required that participants give a name to the site, so you could add the prefix “Old tree”. This way all entries will be of the form “Old tree 602f9d163165ac0100aaf000”, “Old tree 323f9d163165ac0100aaf111”, so it’s clear users are looking at a list of old trees entries.
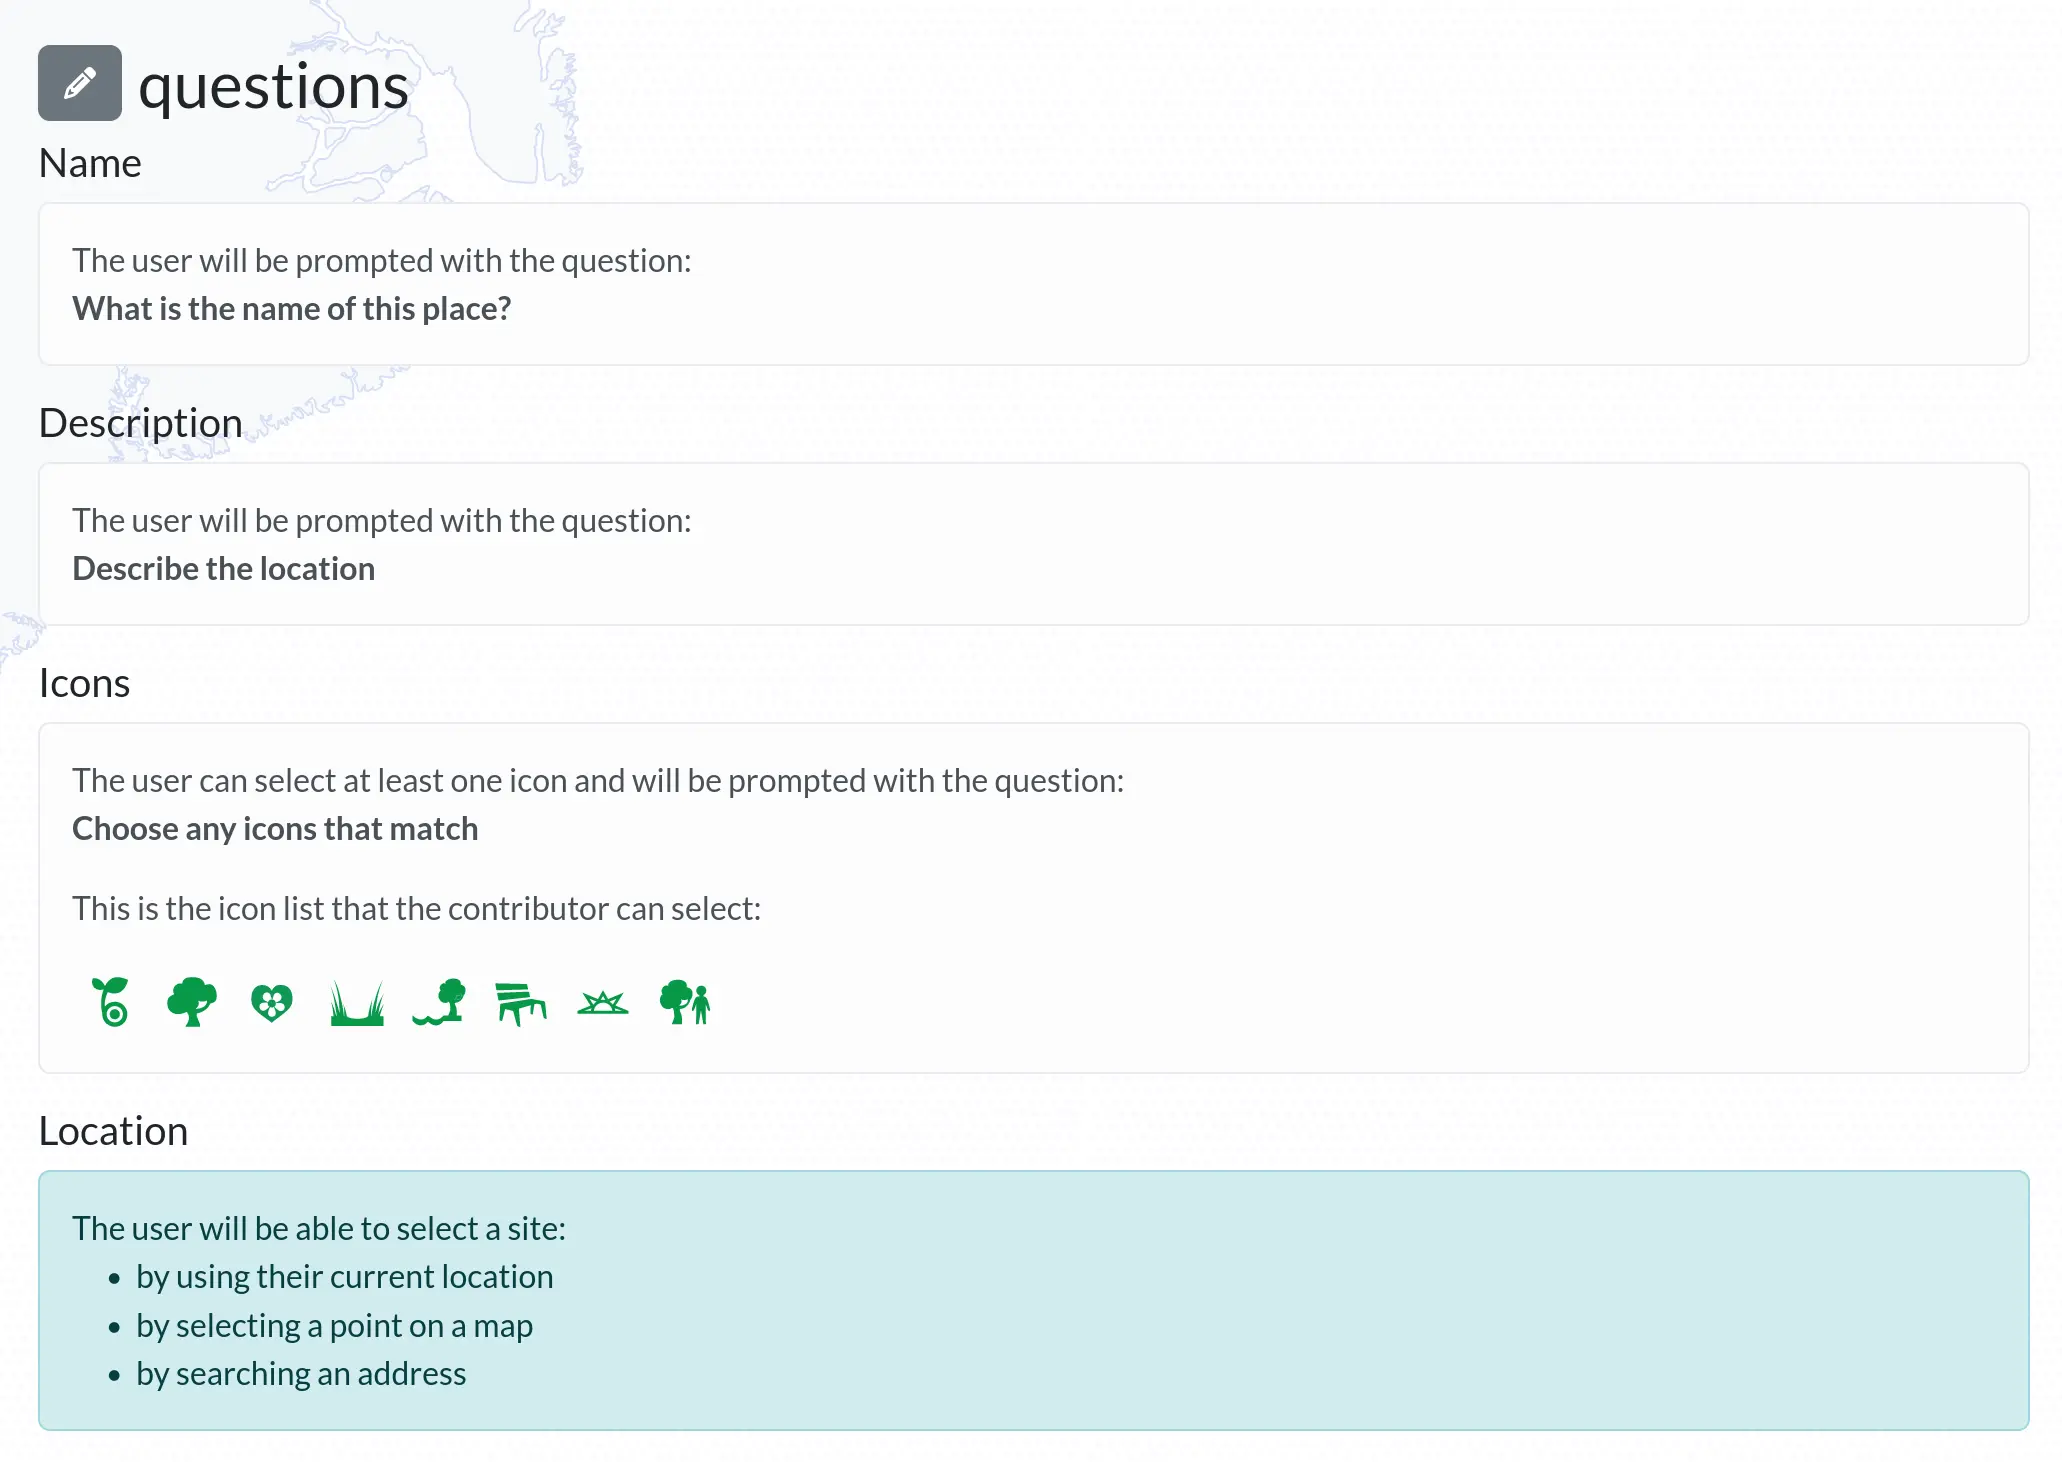
If instead you would like to collect a Name for the site, you can set a custom question for Name. You also have a second question for the description field. Frame questions to collect the type of information you want about the site.
Once you save the questions, you will see an overview of the current configuration:
You also have the option to restrict participation to registered users. Otherwise, anonymous contributors, without being logged in, can also submit answers to Campaigns. The toggle to restrict participation is in the panel on the right, at the top of the edit page.
Step 6
And finally, make your Campaign public, so that people can start participating!
You do that by enabling the is public toggle in the side bar on the right.

Once the Campaign is public, it will be accessible from Campaigns in the menu, and ready for contributions. You can make a short URL (e.g. on bit.ly) or QR code for the Campaign. Use the cover image for your social media and other outreach. Let the local news and radio know, stage an event, and otherwise, get the word out!